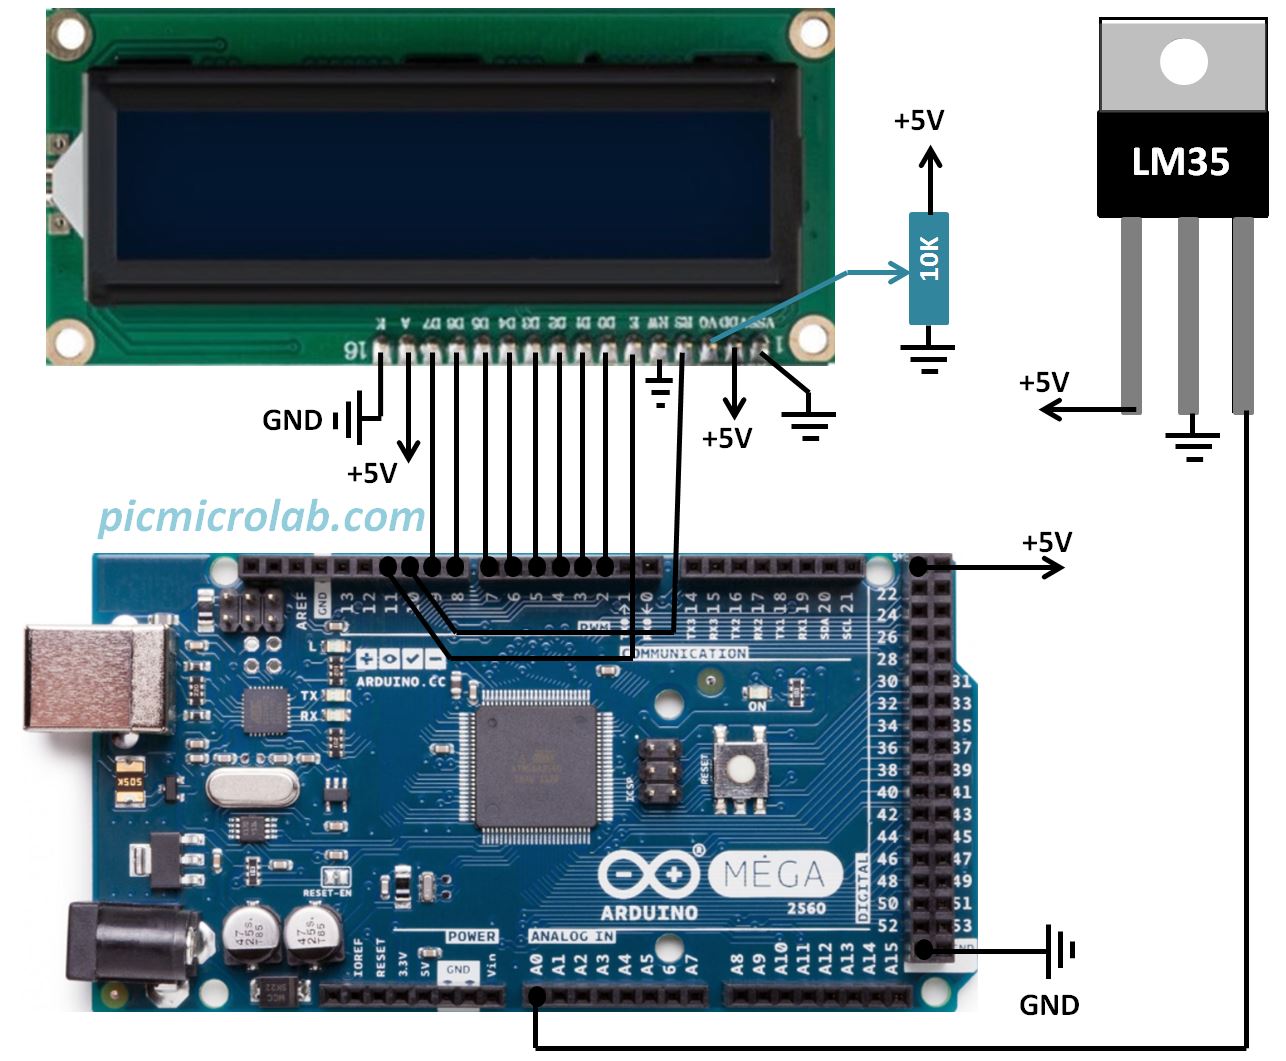
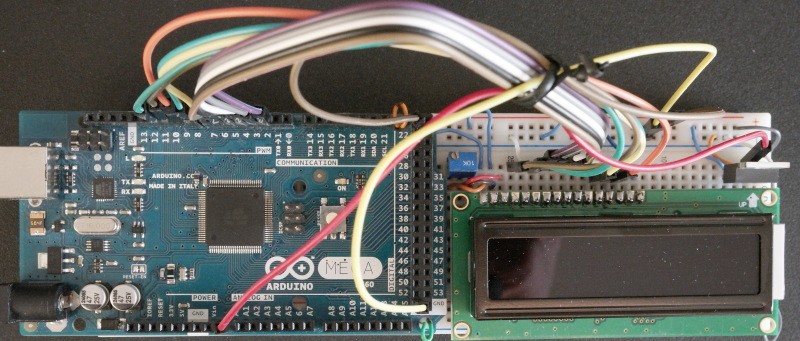
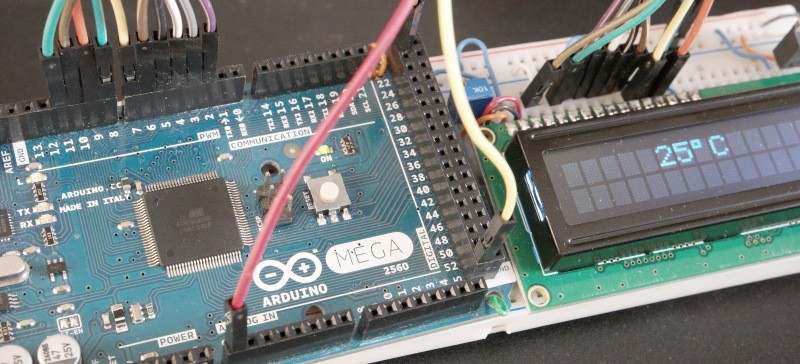
LM35 is a temperature sensor that outputs a voltage proportional to the surrounding temperature in centigrade. In this post I’ll show how this device can be connected to Arduino MEGA board to build a thermometer that shows the current temperature on the LCD display. For similar design based on LM75A sensor click here. Also version based on DH11 humidity and temperature sensor can be found here. Raspberry Pi version is also available at this link. Basic configuration requires no additional components and just one power supply. With this set up the temperature range is from 2 to 150 Celsius. The interface with this device is really simple. Just connect LM35 Vout pin to analog input A0 on the Arduino board as shown on the schematic diagram next. Modify slightly the voltmeter design sketch to show just 2 digits add a centigrade symbol and you have a working thermometer. You can download the Arduino thermometer code here.

This design should also work on any Arduino Mega and Uno compatible boards. I’ve used 2×16 LCD display with parallel interface 14 pins with LED+,LED- for backlight. Add 220 Ohm resistor from LED+ to positive power supply. Compatible display modules can also be used, no code modifications needed.

Arduino board has additional analog inputs so a number of these sensors can be added to measure the temperature in different locations. In this case you’ll need to sample more analog channels. The easiest way to do it is just duplicate the relevant functions in the sketch and change the location of each reading on the display.
